

It's barely mid January and I'm already wishing for warmer weather. A few snowflakes were in the air over the weekend and it quickly turned into annoying rain as the temperature warmed up slightly. And I mean.....Slightly.
There's not a lot going on at the farmer's market these days but in the summer, during a two-week window of sour cherry season, I stock up my freezer with these tart ruby red gems. Before I moved to the East Coast, I had no idea that sour cherries even existed. I mean, I've indulged on cherry Hostess hand pies and actually HAD cherry pie, but I never knew it was made from sour cherries. Sour cherries are not the kind of cherries you want to eat raw. They're called "sour" cherries for a reason because they are sour but add sugar plus a few other ingredients and they're perfect for baking into a pie or mini sour cherry pies......

In the summer, my husband gets me a few baskets, I hand pit them, and freeze them for future baked goods. That way we have summer any time we want to.
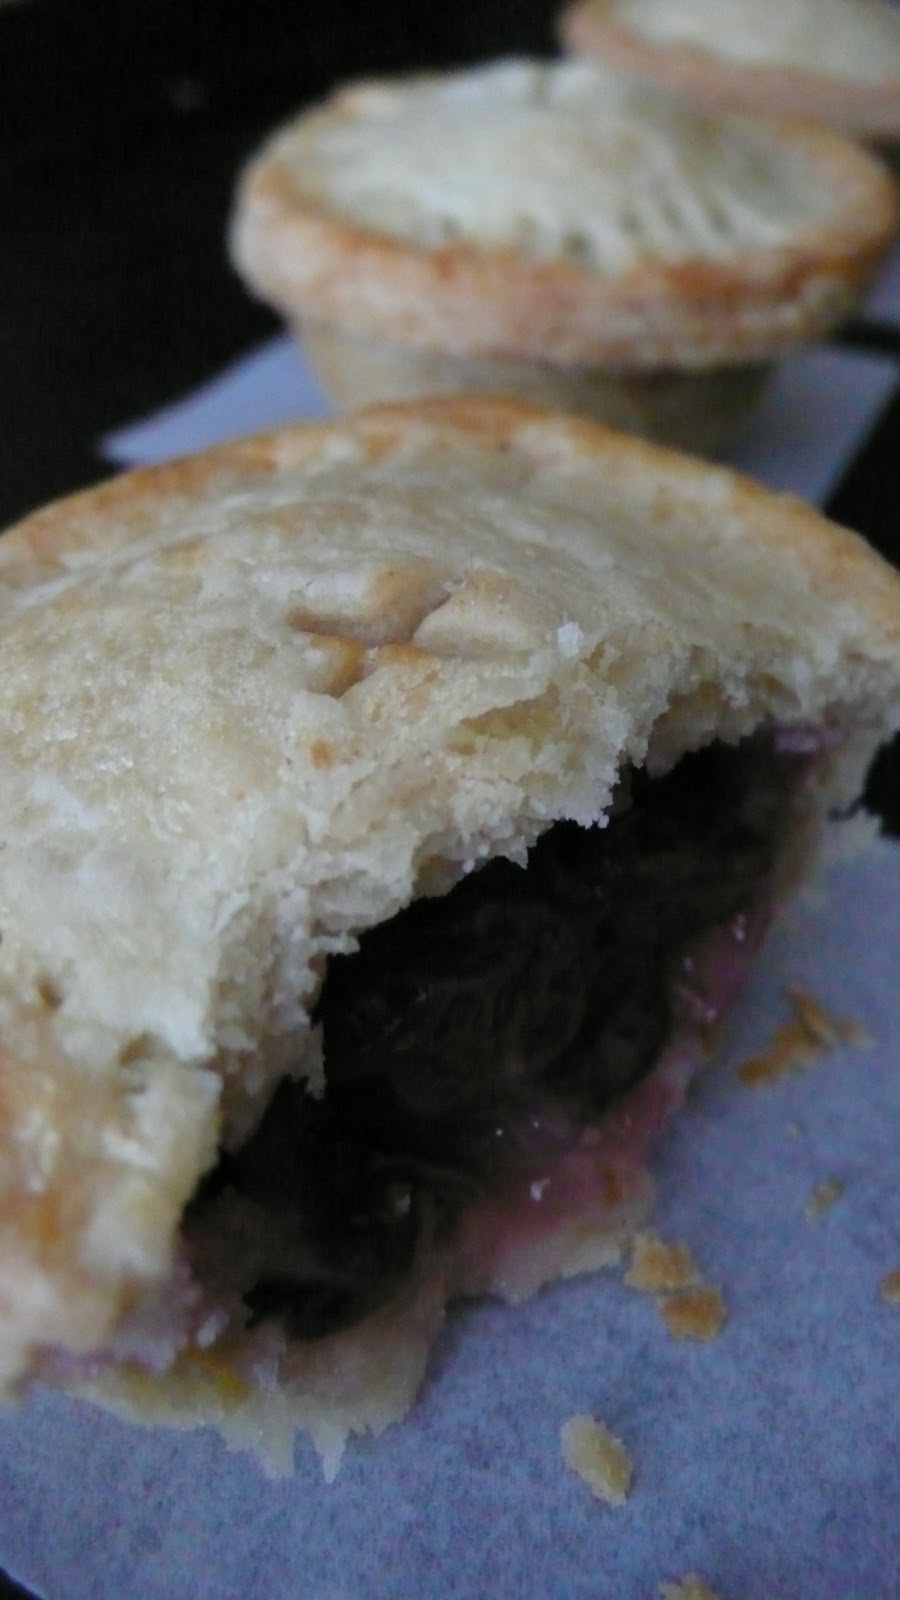
Mini Sour Cherry Pies
from Martha Stewart for Individual Sour Cherry Pies
Makes 6 3-inch mini pies
INGREDIENTS
6 mini pie tins
One half Easy Pie Dough, cut into (6) 3 1/2-inch circles for base of mini tins and (6) 2 3/4-inch circles for tops. Fit the 3 1/2-inch circles into mini tins, leaving 1/4-inch around the lip of the pans. Chill in the frig along with the (6) 2 3/4-inch circles until ready to fill.
2 cups sour cherries - fresh or frozen ***If frozen, defrost and drain thoroughly***
1/2 cup sugar
2 teaspoons all-purpose flour
1 tablespoon + 2 teaspoons cornstarch
drop of vanilla extract
pinch of lemon zest
a small squeeze of lemon juice
1 tablespoon heavy cream
Preheat oven to 375˚F. Line a baking sheet with parchment paper or foil.
In a medium-sized bowl, mix together sugar, flour and cornstarch. Add cherries, vanilla extract, lemon zest and lemon juice. Combine until all of the cherries are coated with the sugar/flour mixture.
Divide the cherry filling evenly into your prepared mini tins. Dab a little water onto the rims of the pie crust to adhere the tops. Gently press them together with the tines of a fork. ***Make sure the two crusts are sealed to prevent the filling from oozing out while baking*** Cut a small vent on the top of pies. Brush lightly with heavy cream.
Bake for 30 - 40 minutes or until the crust is light golden brown around the edges. Cool on a wire rack.
No comments:
Post a Comment